
The complete guide
Choosing a Solar Mailbox Light for Your Home
Make your address easier to spot after dark
A house number that looks clear at noon can disappear into shadow at night. Visitors slow down, delivery drivers look twice, and a dark letterbox becomes one more detail that is hard to find. A light above the number can help, without lighting the whole front yard.
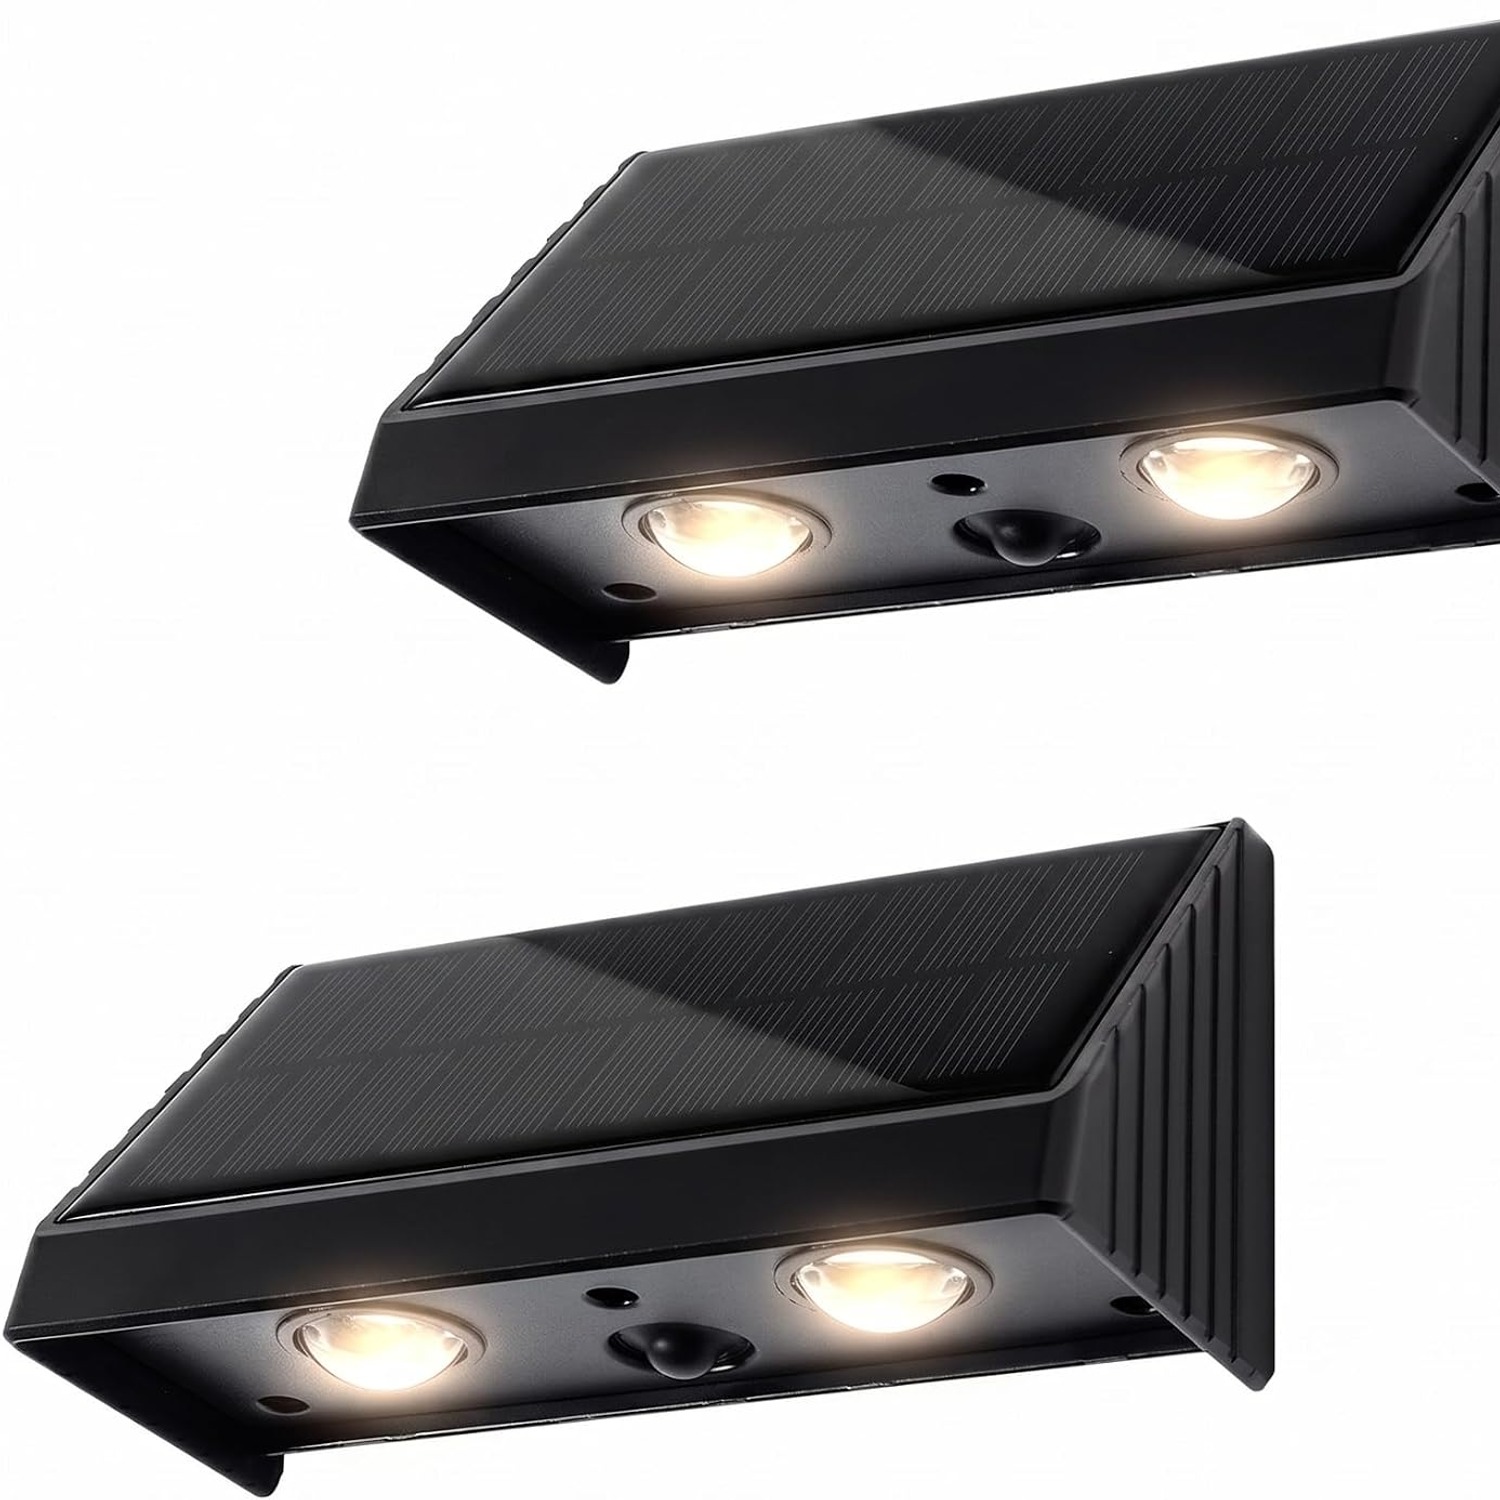
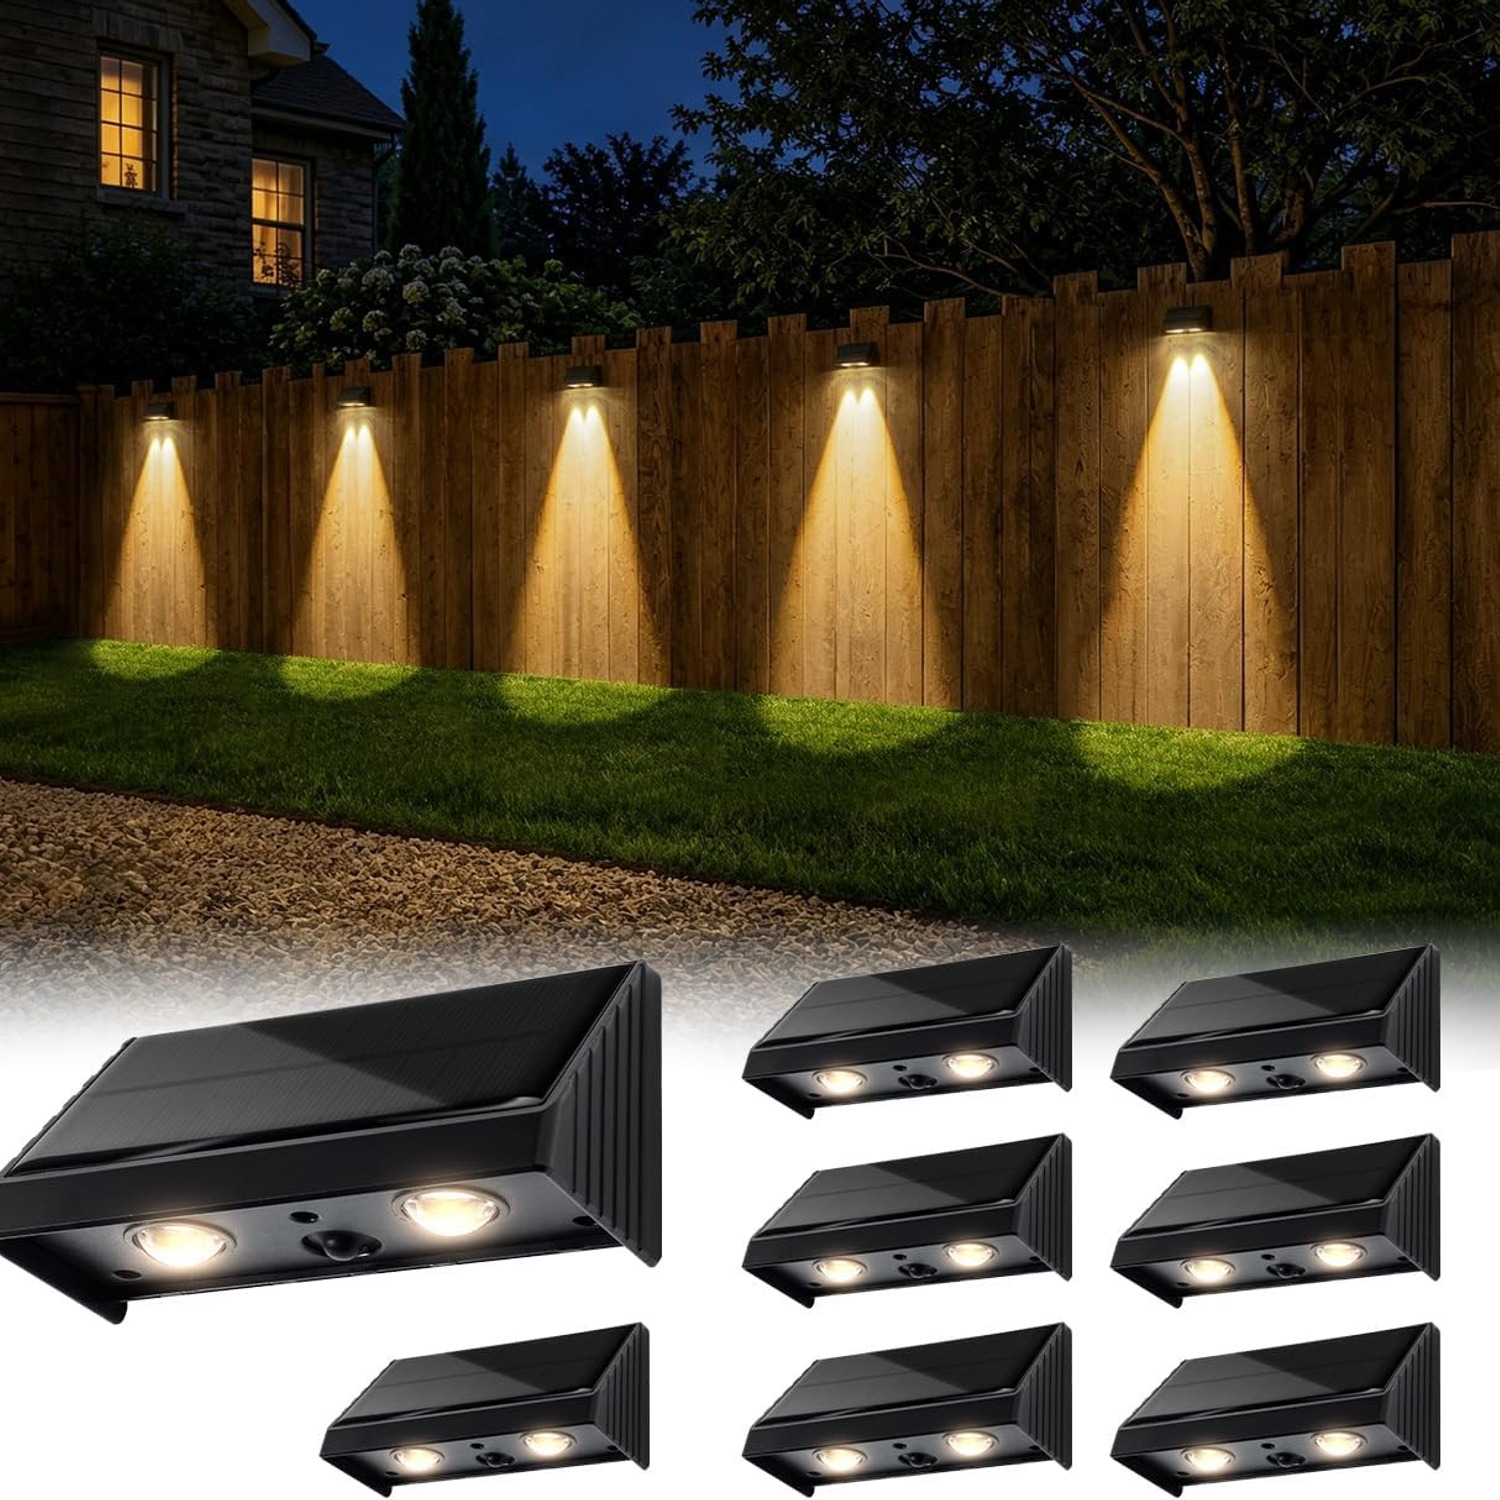
This solar mailbox light pack gives you two wall-mounted downlights. They are designed to cast warm white light below the fixture, making them worth considering for an address sign, letterbox surround or outdoor wall.
The key is choosing the right position. A solar light needs sunlight as well as a useful place to shine. Before buying, look at both the daytime charging conditions and the area you want lit after sunset.
How these solar downlights work
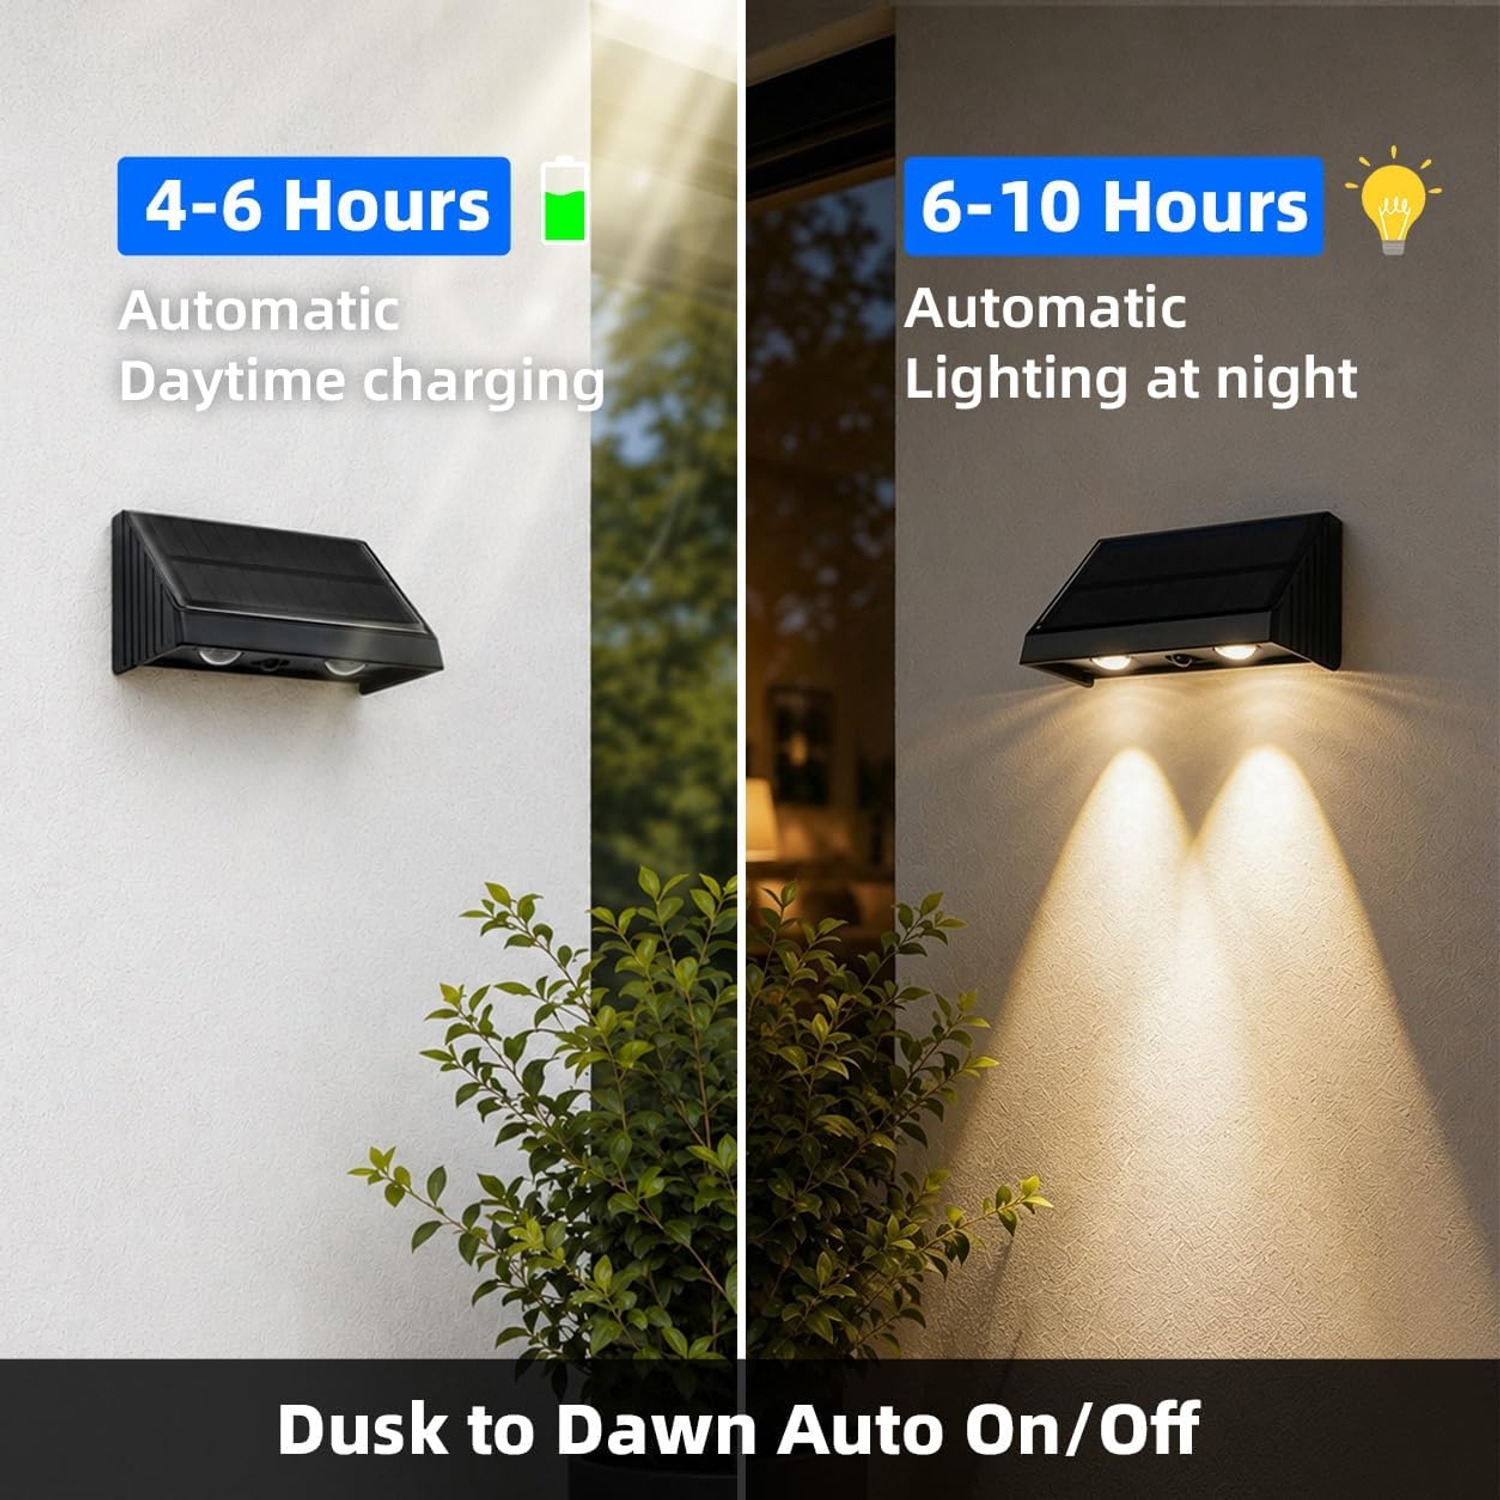
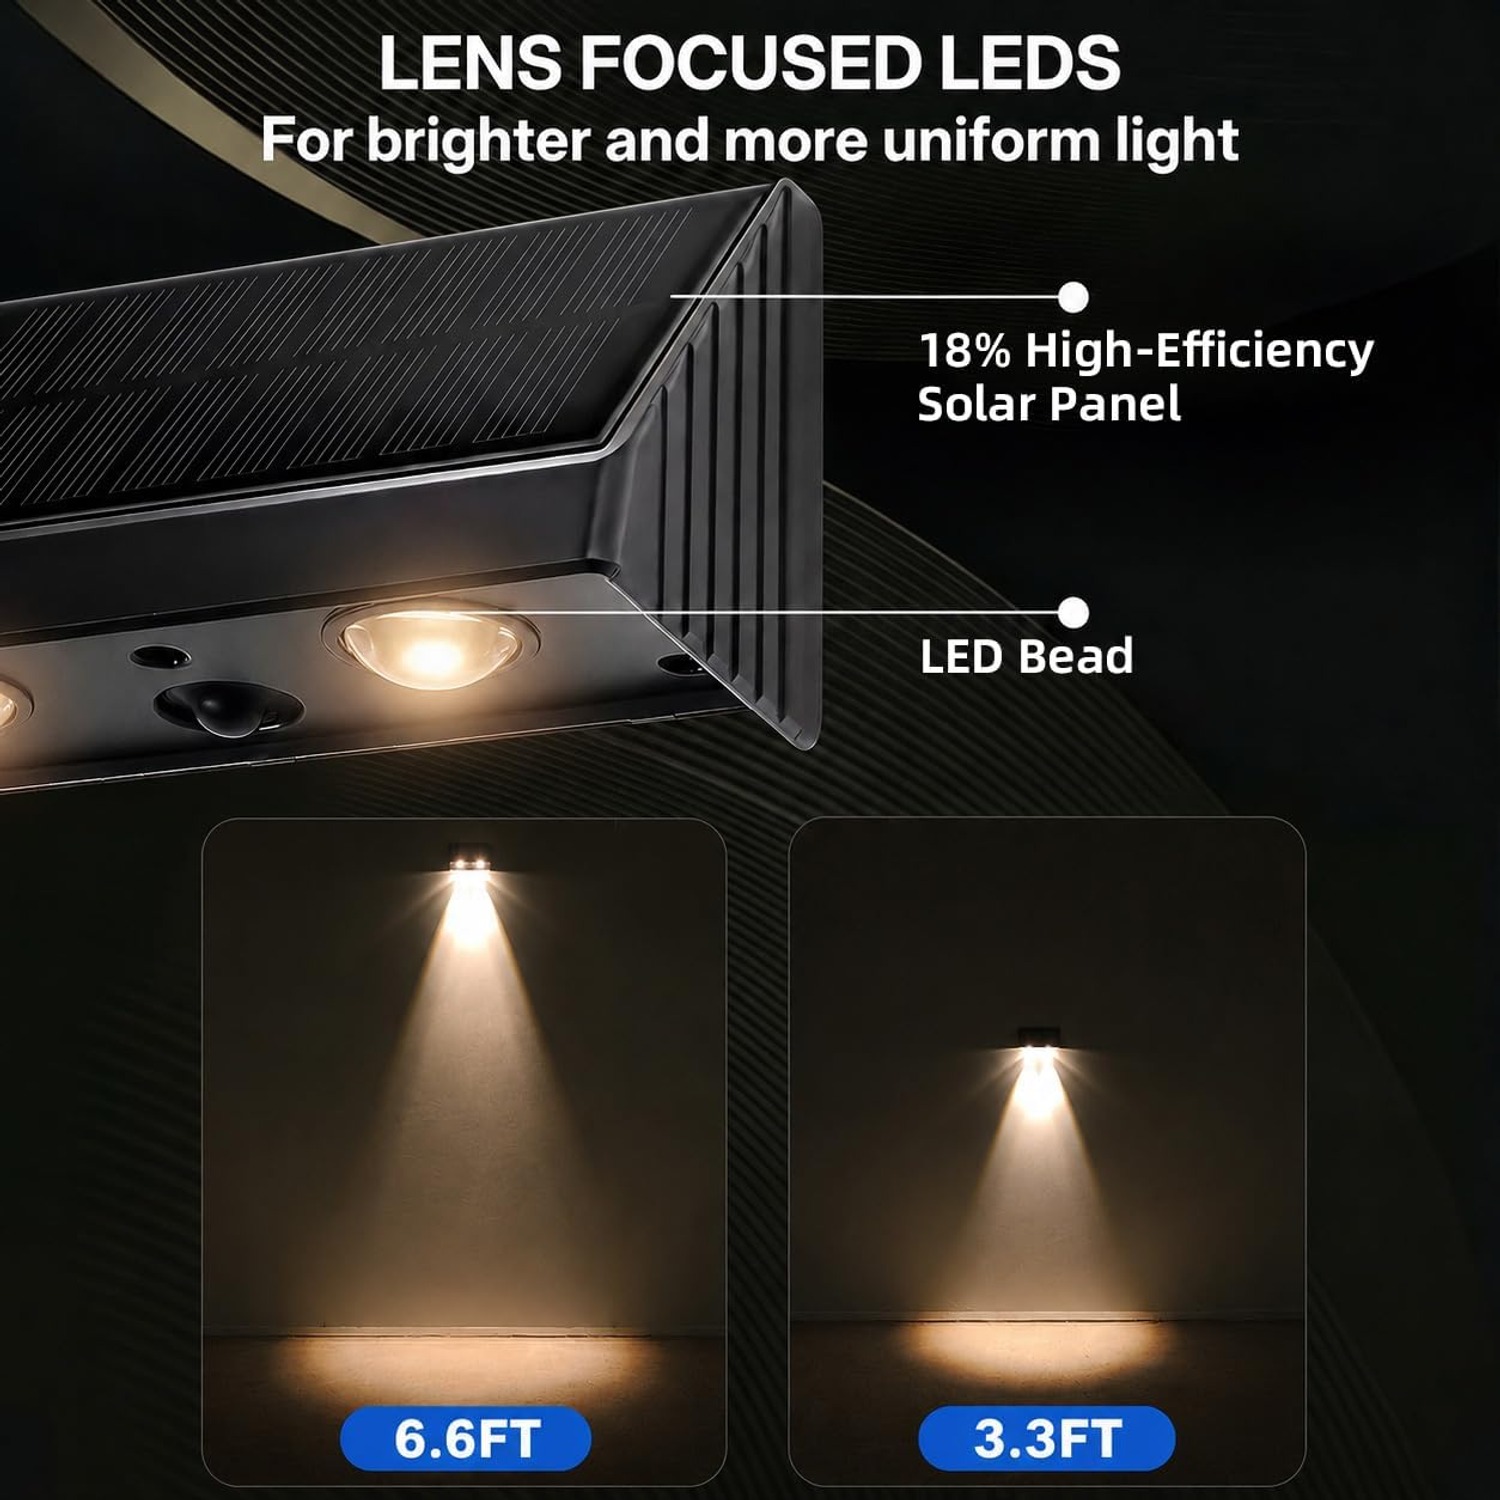
Each fixture uses solar power rather than a mains cable. The supplier describes an 1800 mAh lithium battery and a monocrystalline solar panel with a PET-laminated surface. Sunlight charges the battery, which then supplies the LEDs.
A built-in light sensor is described as handling automatic night-time operation. The details also list touch and push-button controls, though they do not explain the full control sequence. Read the manual before mounting so you can reach any switch you need.
The listed charging time is 7–8 hours, with a working time of 8–10 hours after charging. Treat those as supplier estimates rather than fixed daily results. A shaded winter day and a clear summer day do not offer the same charging conditions.
Decide what needs the light
Start with a specific target. Is it a house number, a nameplate beside a gate, or the face of a letterbox? That answer helps you judge whether a downward beam is a sensible choice.
A mailbox downlight belongs above the detail you want to see. It is not the same layout as a ground spotlight aimed upwards. Look for a mounting surface that lets the beam fall towards the sign without being blocked by a cap, ledge or trim.
For outdoor address lighting, check the view from the street as well as from your front path. A number may be readable when you stand beside it but harder to see from an angle. Lighting cannot fully correct small lettering or poor contrast.
Check sunlight before mounting
The most convenient wall is not always the best charging position. Deep eaves, tall fences and dense plants may shade the panel for much of the day. A solar address light needs a position that works before sunset, not just after it.
Watch the proposed spot at different times. Note when direct sun arrives and when shade covers the surface. Think about seasonal changes too, especially if trees or a roofline sit between the fixture and the sun.
If the location stays shaded, consider a different lighting arrangement rather than expecting longer charging time to solve the problem. The supplied record does not describe a separate remote panel, so do not plan around moving the panel independently.
Understand the warm white downlight
The listed colour temperature is 3000 K, described as warm white. This is useful information if you want a similar light tone to nearby fittings. Check the colour temperature of those fittings rather than relying only on photographs.
The downward lighting style also matters. These are intended for light below the fixture, not broad overhead lighting across a large yard. Think of them as local lights for selected features.
The supplier gives two brightness entries, 1200 lumens and 1209 lumens maximum. It does not explain whether those figures describe one fixture or the pack. There is no confirmed beam-angle measurement, so avoid planning exact coverage from the lumen figures alone.
Measure the space and check the surface
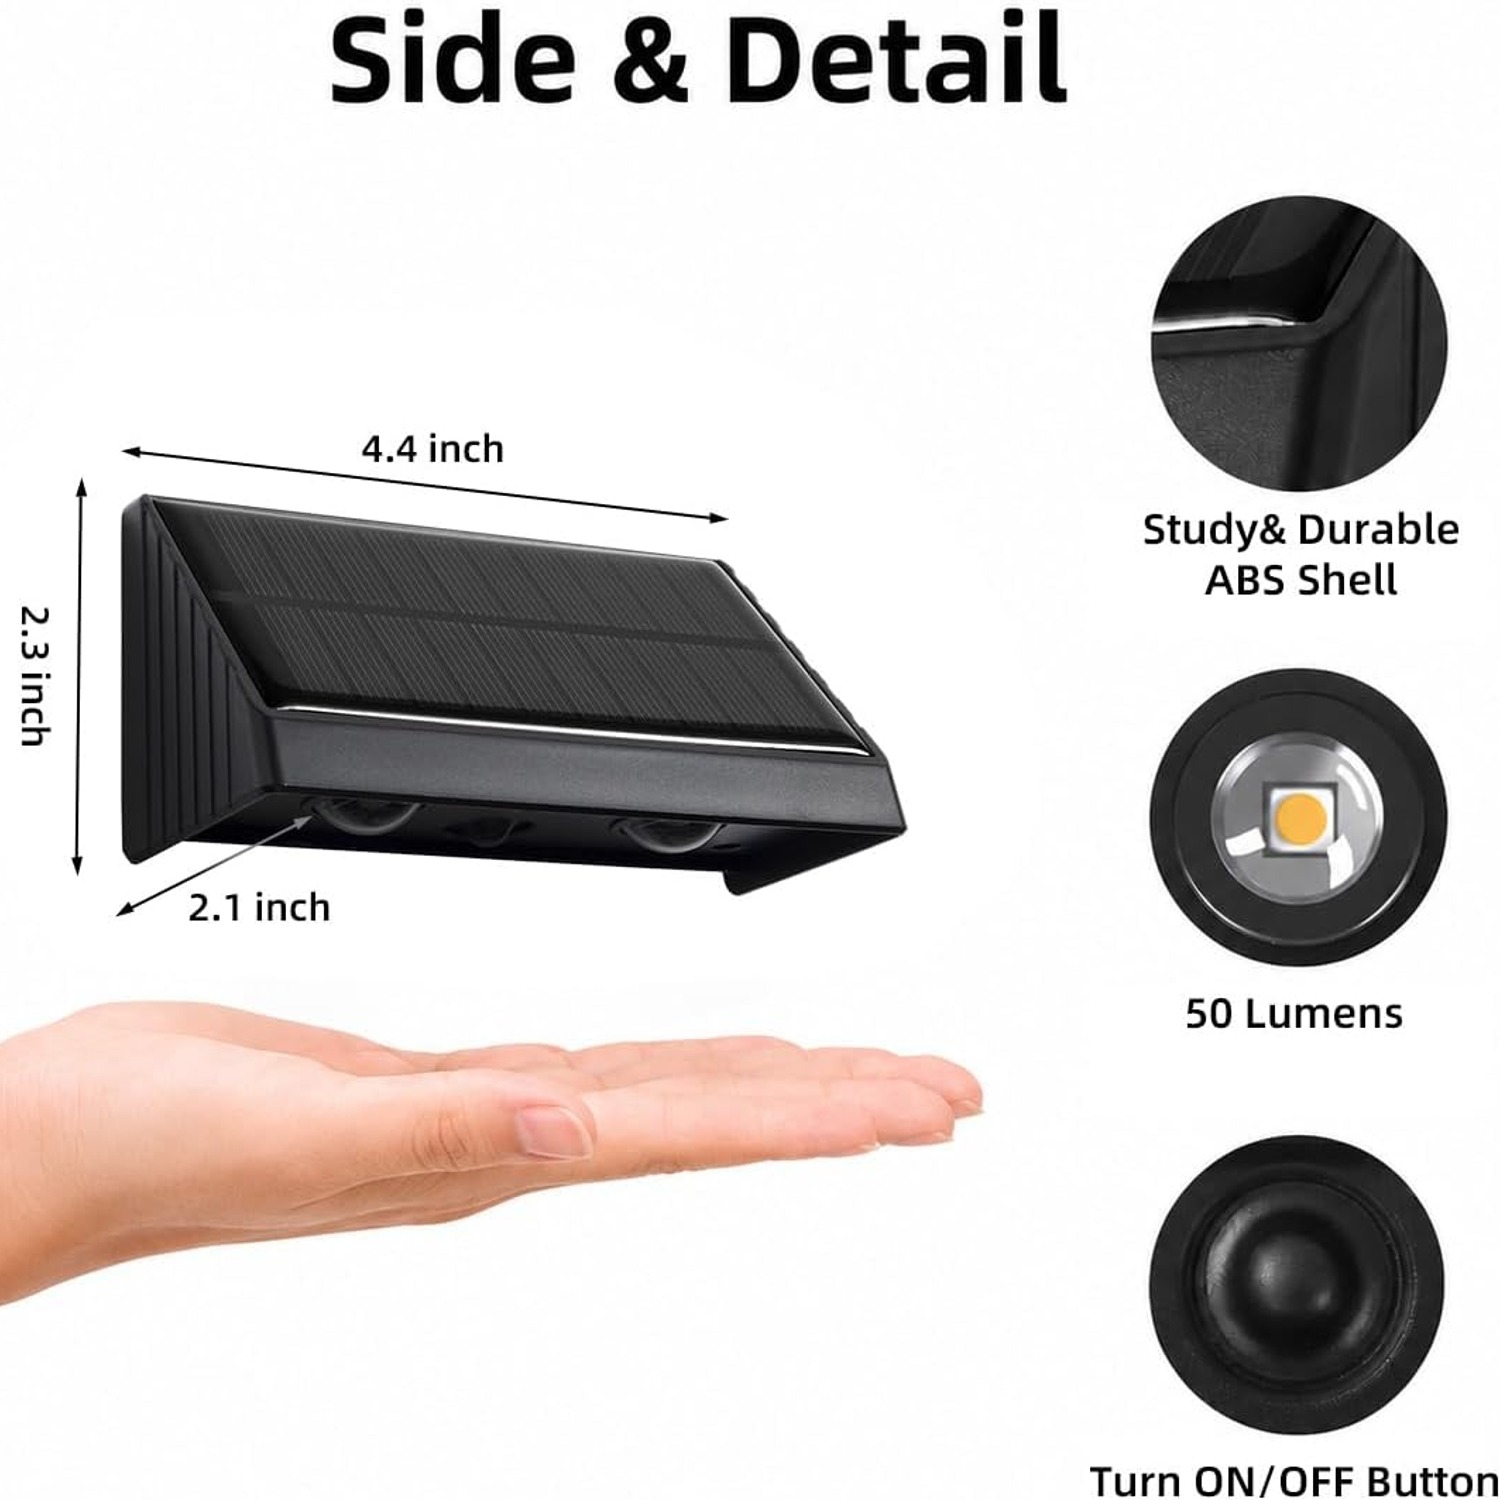
The product details list dimensions of 11.5 × 6 × 5.5 cm. Use those measurements to mark out a rough shape on the intended surface. This simple check can show whether the fixture will crowd a number plate or sit awkwardly beneath a letterbox lid.
Mounting-hole spacing is not provided. Wait until you have the product and instructions before drilling. Make sure there is room to secure the fixture without damaging the sign, letterbox or wall.
The listed item weight is 331 g, but the record does not clarify whether that is per light or for the pack. Choose mounting hardware to suit the actual fixture and surface. Do not assume the supplied screws are right for every wall type.
Plan how to use the two-pack
Two lights give you a few layout options. You might put one above a house number and the other near a gate sign. Alternatively, a paired arrangement may suit a wider section of wall.
Try not to spread them out simply because there are two. Each needs a clear purpose and enough sunlight. One useful position and one shaded position will not give you a balanced result.
These wall mounted solar lights are also listed for fences, gardens and decks. On a fence, check the strength and condition of the board. Near a deck, place them where their light can reach the intended area without the fixtures becoming an obstruction.
Be careful with weather-rating claims
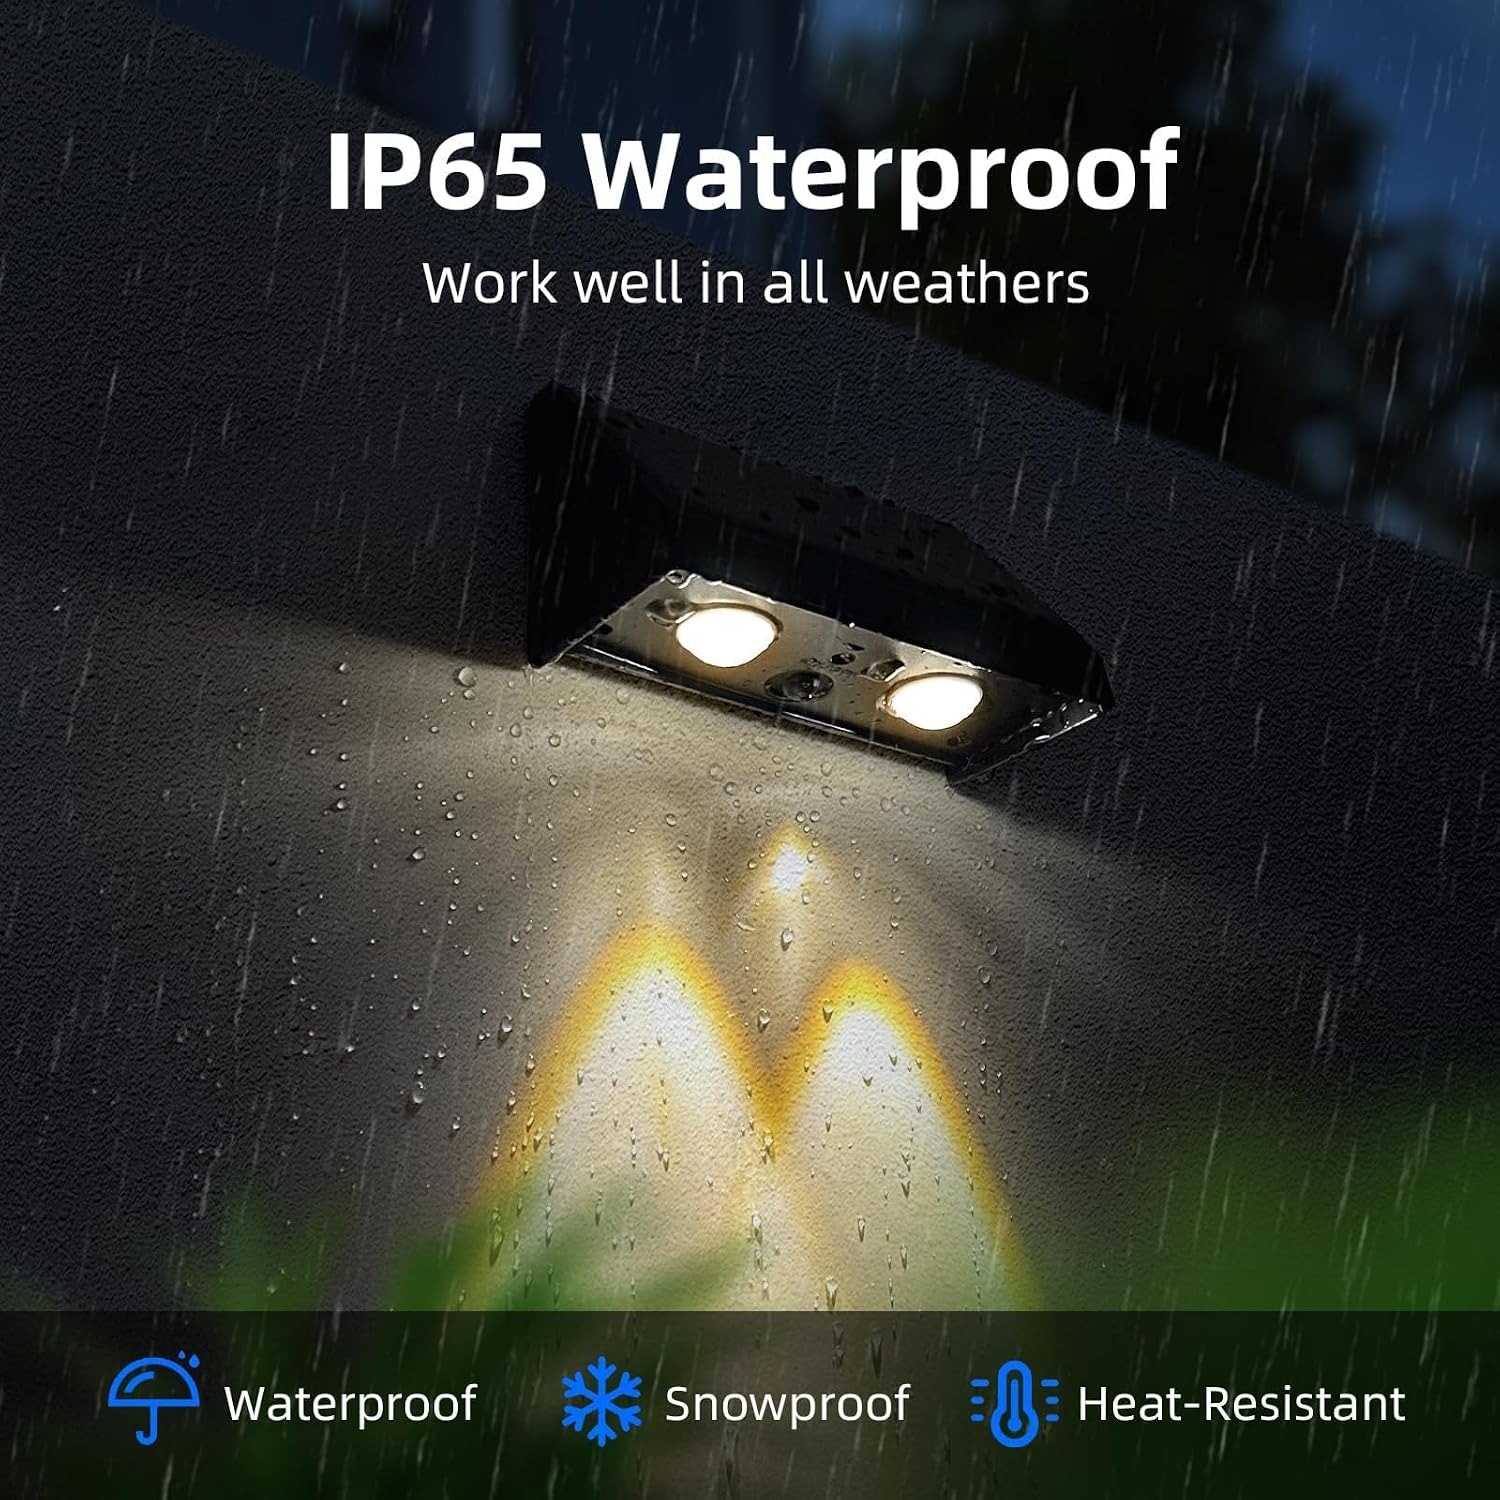
There is a conflict in the supplier information. The product details list IPX4, while the description says IP65. Those are different ratings, so it would be unwise to promise the stronger level of protection.
If your installation is fully exposed to driving rain or frequent splashing, ask for confirmation before ordering. Do not treat the general word waterproof as permission to immerse the fixture or clean it with a pressure washer.
The listed materials are ABS and acrylic, with a plastic finish. These details describe the construction, but they do not confirm a lifespan in harsh weather. Temperature limits and coastal suitability are not specified in this record.
Install with access and upkeep in mind
The pack lists two lights, four screws, one punched card and an instruction manual. No assembly is required according to the details, but mounting and setup are still necessary. Read the instructions before fixing either light in place.
The supplier mentions double-sided adhesive as another mounting option. It is not included in the component list. If considering adhesive, check its suitability for the surface, fixture weight and outdoor exposure rather than assuming any tape will work.
Keep access in mind. You should be able to clean the panel and reach the controls without an unsafe stretch. A position that is easy to maintain may be more useful than one that looks tidy but is difficult to reach.
Know when another light may be better
A solar sign light makes sense when you want local lighting without mains wiring and have direct sun available. It is less suited to a location where charging is poor or where fixed lighting hours are essential.
For a large business sign, ask for verified coverage details before choosing this pack. The record does not give enough information to calculate even illumination across a broad surface. A small address plaque and a wide sign have different needs.
The same care applies to solar step lights. The supplier lists step use, but solar output can vary. Check that stairs remain clearly visible and use suitable additional lighting where safe movement depends on it.
Keep the panel clean and expectations realistic
A thin layer of dirt or fallen leaves can cover part of a solar panel. Check it from time to time and wipe it gently with a soft, damp cloth. Clean the light cover too, without using abrasive products or solvents.
If lighting time becomes shorter, first look at the charging conditions. Has a plant grown across the panel? Has the season changed the amount of direct sun? Check the controls against the manual as well.
Battery replacement details are not provided. Do not open the fixture based on an assumption that the battery or LEDs are user-serviceable. Contact support for guidance if cleaning and correct setup do not resolve a problem.
The short version
This two-pack is worth considering for a sunny outdoor wall above a mailbox, address number or small sign. It offers solar power, warm white downlighting and wall mounting without a mains cable.
Choose the location before choosing the light. Measure the space, watch the sunlight and confirm the weather rating if exposure is a concern. With those checks done, you can make a more informed choice about whether these lights suit your home.